



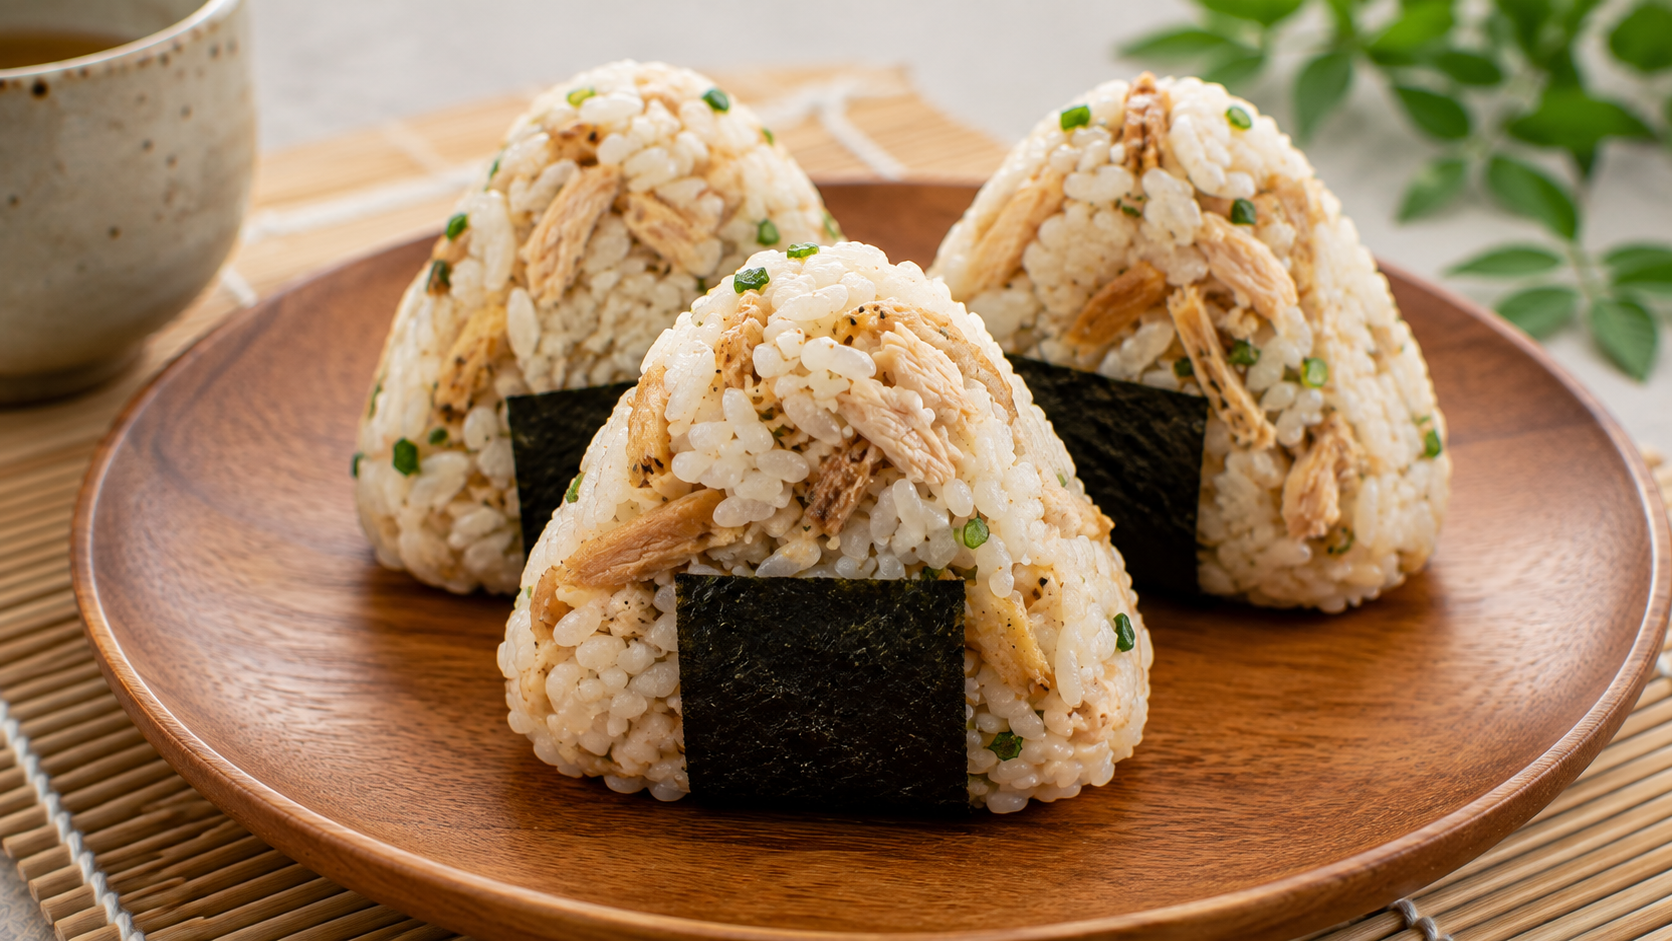
This incredibly portable, deeply comforting, and highly customizable Chicken onigiri is the ultimate meal-prep solution for anyone looking to upgrade their lunchbox with a wholesome, satisfying bite. Whether you are packing a meal for a busy workday, planning a picnic, or simply searching for healthy chicken lunch recipes to break out of your standard sandwich rut, this classic Japanese staple hits all the right marks. Packed with tender, savory poultry encased in fluffy, seasoned short-grain rice and wrapped in crisp seaweed, it delivers massive, restaurant-quality flavor while remaining exceptionally budget-friendly and fun to make at home.
Origin Chicken onigiri
Onigiri (Japanese rice balls) have an incredibly rich history dating back over a thousand years to the Heian period. Originally known as tonjiki, these compressed balls of rice were invented as a functional, portable food for samurai, travelers, and farmers who needed a durable, energy-dense meal on the go. While traditional fillings often include salted salmon, pickled plum (umeboshi), or kombu, modern culinary evolution has embraced heavier, protein-packed centers. The addition of a savory chicken filling—often mixed with Japanese mayonnaise and soy sauce—is a relatively recent, wildly popular modern twist. Today, recognizing the health benefits of seaweed and rice, home cooks around the world celebrate Chicken onigiri as the perfect fusion of ancient preservation techniques and contemporary comfort food.
Tips for the Perfect Shape
To achieve a firm, beautifully triangular rice ball rather than a crumbly, sticky mess, managing your rice temperature and hand technique is absolutely critical. First, you must use Japanese short-grain rice (often labeled as sushi rice); standard long-grain white rice or jasmine rice will not stick together. Secondly, you must shape the onigiri while the rice is still quite warm. This is an essential expert onigiri shaping technique: you must wet your hands thoroughly with water and rub a generous pinch of fine sea salt into your palms before handling the rice. The water prevents sticking, and the salt preserves and flavors the exterior of the Chicken onigiri, ensuring it holds its shape perfectly.
Also Read : Chicken in white wine sauce
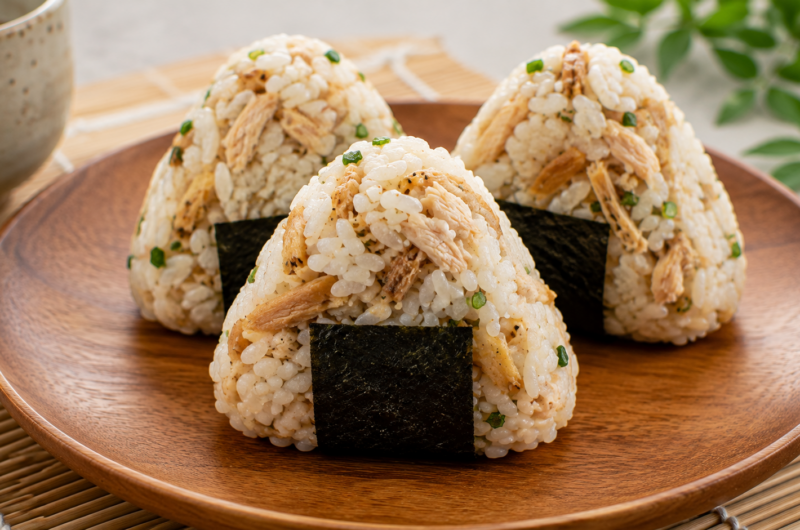
Chicken onigiri
Course: LunchCuisine: JapaneseDifficulty: Medium4
servings15
minutes20
minutes240
kcalIngredients
1 ½ cups uncooked Japanese short-grain white rice (sushi rice)
1 ¾ cups water (for cooking rice)
½ tsp fine sea salt (for your hands)
2 sheets roasted nori (seaweed), cut into thick strips
For the Chicken Filling:
1 cup cooked chicken breast or thighs, very finely shredded or chopped
2 tbsp Japanese mayonnaise (like Kewpie) or standard mayonnaise
1 tsp low-sodium soy sauce
½ tsp toasted sesame oil
¼ tsp freshly ground black pepper
Optional: 1 tsp sriracha or chili crisp for a spicy version
Directions
- Cook the Rice (Crucial Step): Rinse the short-grain rice under cold water until the water runs clear. Cook the rice in a rice cooker or on the stovetop according to package directions. Once cooked, gently fluff it with a rice paddle and let it cool just until it is comfortable to handle with bare hands. It must still be warm!
- Mix the Filling: In a small bowl, combine the finely shredded chicken, Japanese mayonnaise, soy sauce, toasted sesame oil, and black pepper. Stir until the chicken is completely coated and the mixture is cohesive.
- Prep Your Hands: Set up a workstation with a small bowl of water and a small dish of fine sea salt. Wet both of your hands thoroughly in the water. Dip two fingers into the salt and rub it all over your wet palms.
- Form the Base: Scoop about ½ cup of the warm rice into one hand. Gently flatten the rice into an oval shape, making a small indentation or well in the direct center.
- Stuff the Onigiri: Place 1 to 1 ½ tablespoons of the chicken filling directly into the center indentation.
- Seal and Shape: Fold the edges of the rice up and over the filling, completely sealing the chicken inside. Use both hands to cup and gently press the rice into a firm, three-sided triangle shape. Apply firm but gentle pressure so the rice sticks together without being crushed into a paste.
- Wrap and Serve: Take a strip of the roasted nori and wrap it around the bottom edge of the triangle (this gives your fingers a dry place to hold it). Serve your Chicken onigiri immediately or pack it in a bento box!
Notes
- The Leftover Hack: This is the absolute best way to use up leftover rotisserie chicken! If the chicken is cold from the fridge, warm it up very slightly before mixing it with the mayo so it doesn’t cool the rice down too quickly from the inside.
- Furikake Upgrade: For extra flavor and color, fold 2 tablespoons of furikake (Japanese rice seasoning) directly into the cooked rice before you begin shaping the balls.
- Storage: Onigiri are best eaten the same day they are made. If you must store them in the fridge, wrap them very tightly in plastic wrap without the nori (the seaweed will get soggy). Let them come to room temperature before eating, as refrigeration makes the rice very hard.